|
|
Post by toliver66 on Jul 5, 2010 2:09:59 GMT -5
Hello everyone,
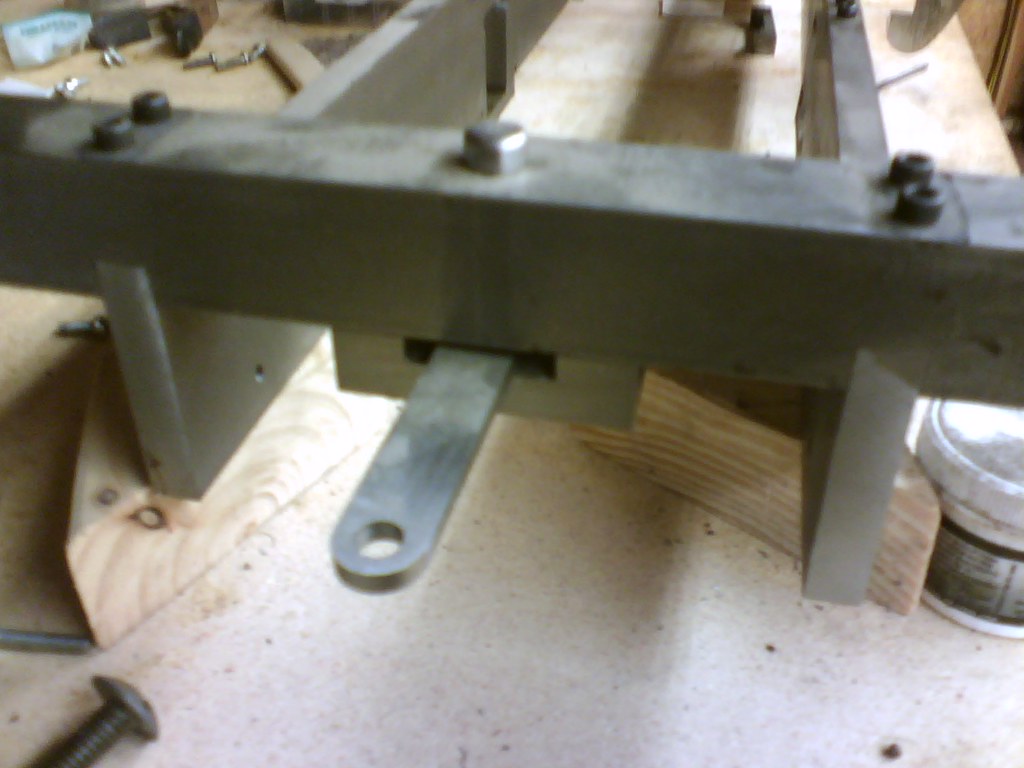
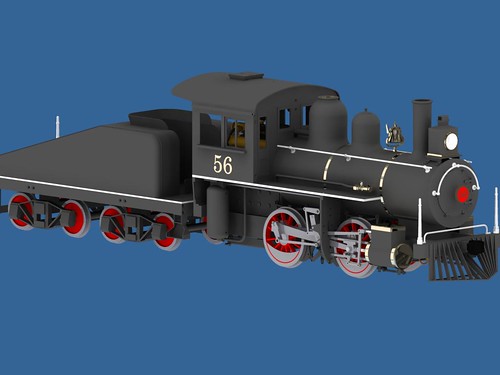
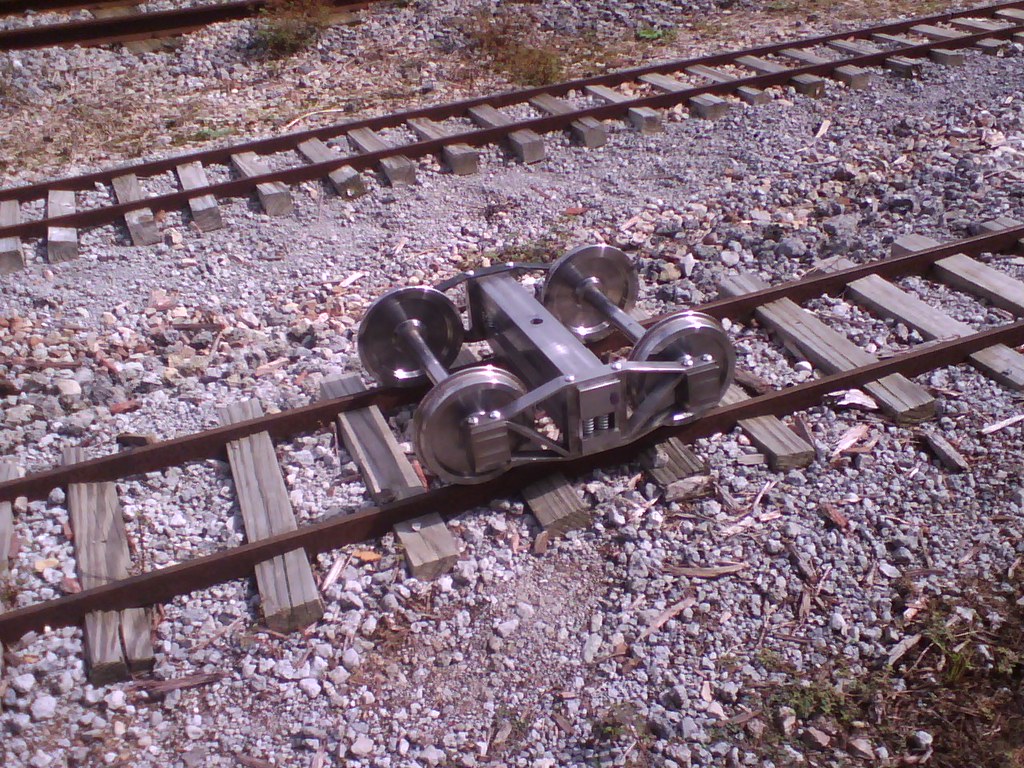
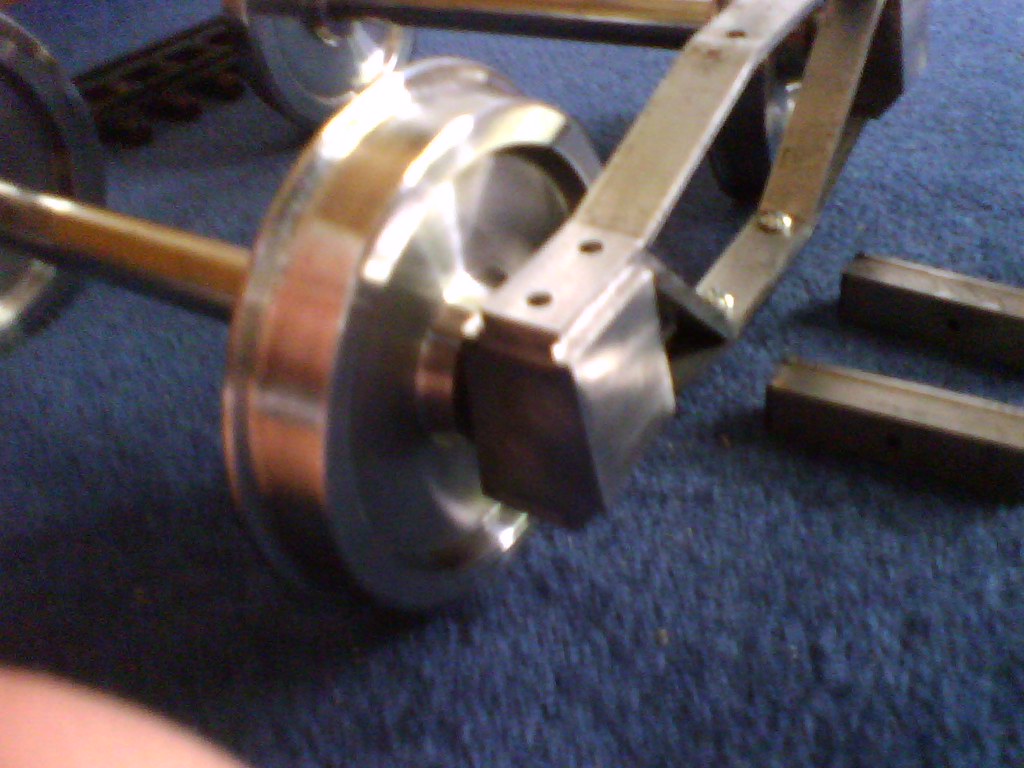
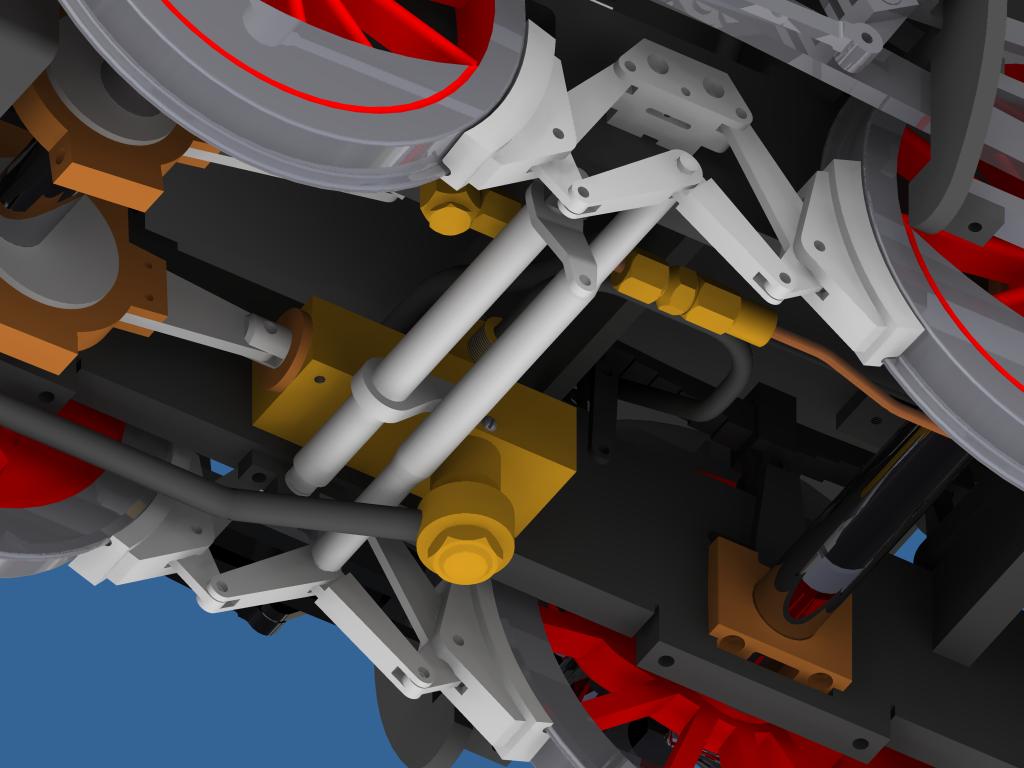
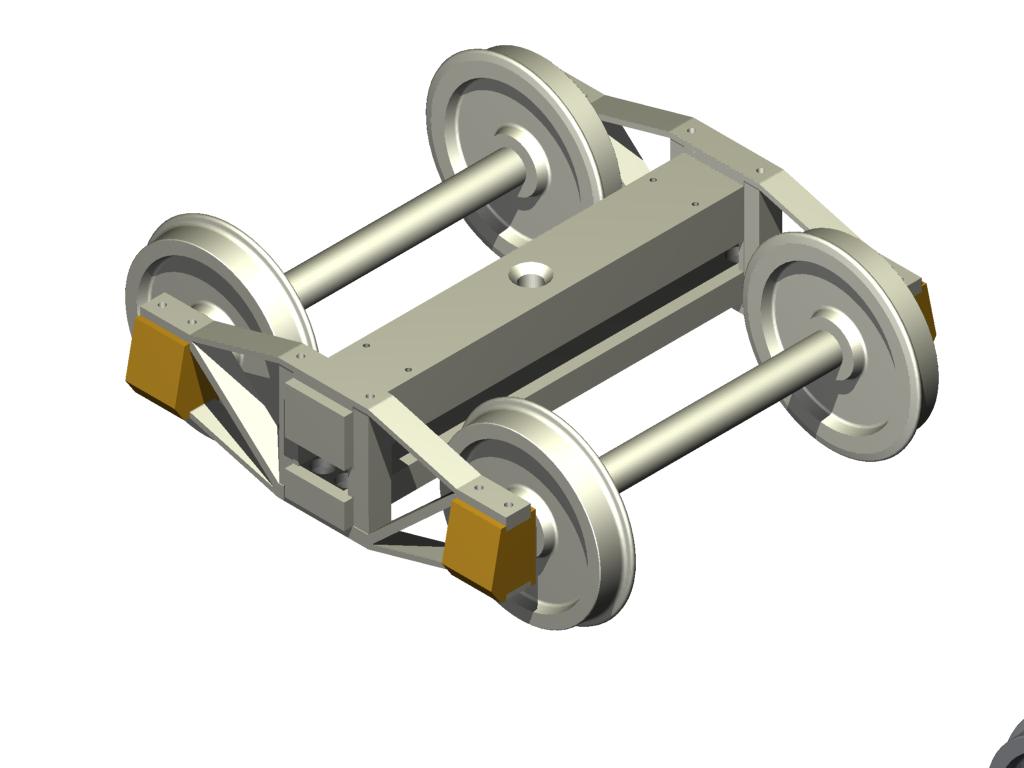
I've been lurking around this forum for a couple of years now. I started on an A3 1.5 - 7.5 scale about a year ago now. So far I have the locomotive and about 95% of the tender scaled up in 3D cad. I've started construction per the book with the tender trucks which are now complete and I'm about to move on to the tender frame. Here is some eye candy for you.
|
|
|
|
Post by toliver66 on Jul 5, 2010 2:17:14 GMT -5
|
|
|
|
Post by phutcheson on Jul 5, 2010 12:42:05 GMT -5
How sweet they look... 
Great looking drawings ... what CAD program are you using?
What are the differences the A4 vs the A3. I do see the front is different but there must be something else.
Hope to see more pictures. 
Pat H
|
|
|
|
Post by toliver66 on Jul 5, 2010 14:18:57 GMT -5
Thanks ;D I'm using Autodesk Inventor 2008. Oops  ... Sorry for the type-O, it's an A3 straight from the book with a cowcatcher instead of a foot board. May not be prototypical but I like it. |
|
|
|
Post by toliver66 on Jul 5, 2010 14:27:13 GMT -5
Fixed the type-O
|
|
|
|
Post by toliver66 on Jul 6, 2010 20:29:39 GMT -5
Valve Gear Animation
|
|
|
|
Post by toliver66 on Sept 17, 2011 22:21:48 GMT -5
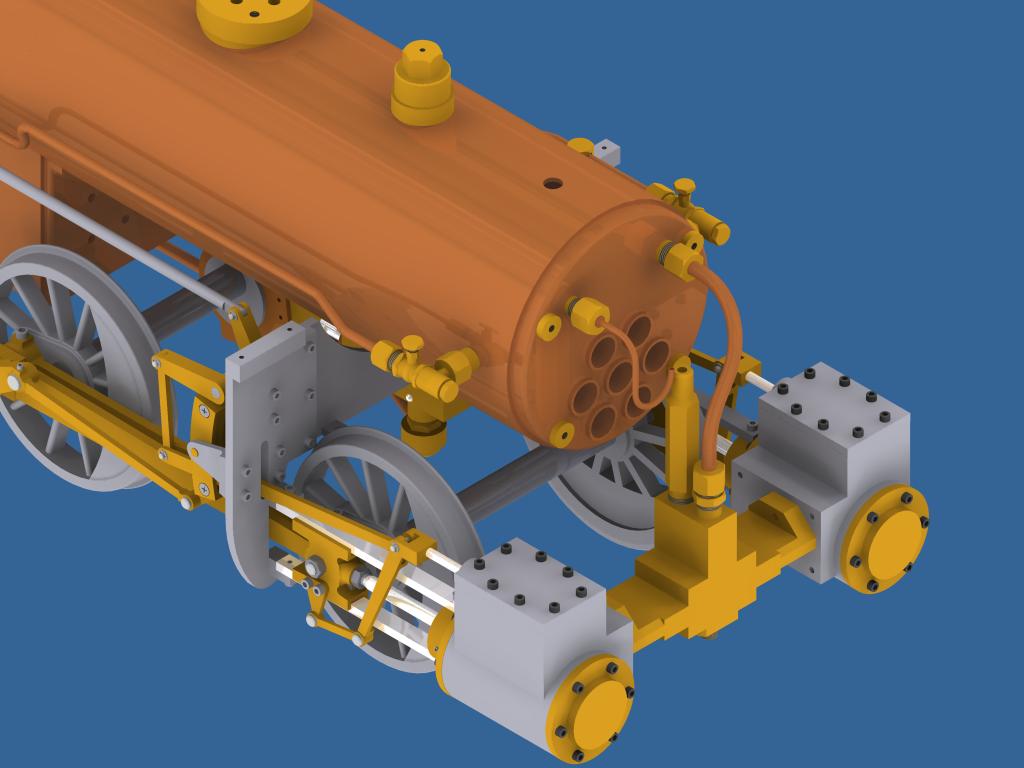
The Boiler Question:
DIY Copper or Professional Steel.
No one building in 1.5 seems have reached the boiler stage yet to my knowledge. I know I'm a long way from boiler building but I like to plan ahead and get an idea of material availability and cost. The following list of materials is what I have come up with to build a copper boiler as per Kozo specs in 1.5 scale.
COPPER:
1/8 Thick x 25.5" x 34" OnlineMetals.com $624.24
Boiler shell 21 x 17
outside fire box 8 x 25
Firebox sheet 7 x 18
Firebox backsheet 8 x 9
Firebox tubesheet 8 x 9
Throat Sheet 6 x 6
5/32 Thick x 8 x 19 OnlineMetals.com $168.72
Back head 11 x 6
Front Tube Sheet 8 x 8
1/4 Thick
Foundation Ring Front & Rear .75 x 10 OnlineMetals.com $10.46
Foundation Ring Sides .5 x 24 OnlineMetals.com $13.40
Back head Brace .625 x 12
Front Tube Sheet Brace .625 x 12 > 1: .625 x 24" OnlineMetals.com $16.75
Firebox Ribs 3" x 24" OnlineMetals.com $80.40
Boiler Tubes 1" X 10' Lowe's Type L Copper Pipe $36.71
Total in copper = $950.68
PHOSPHOR BRONZE:
Studs .5" x 5" OnlineMetals.com $7.20
Pipe Nipples .625 x 2 OnlineMetals.com $4.30
Smoke box Studs & Back Head Nipples .75 x 12 OnlineMetals.com $26.49
Lower Sight Glass Bushing 1" x 1" OnlineMetals.com $5.19
Manifold Plug 1.25 x 1" OnlineMetals.com $8.11
Sand Dome base & Water Plug 1.75 x 3" OnlineMetals.com $41.94
Back head & Throat Sheet Stays .3125 x 14" OnlineMetals.com $7.98
Side Stays .5 x 36" OnlineMetals.com $31.79
Steam Dome Base 3" x 1" OnlineMetals.com $29.33 {Round Copper... Can't find in Phos Bronze}
Total in Phosphor Bronze = $162.33
Grand Total minus shipping, silver solder, flux, and gas = $1113.01 - total over $100 discount= $1003.12
Estimate for steel boiler from Ridge Boiler = Railroad Supply 0-4-0 $2920
(R.S. 0-4-0 Close enough for comparison)
Difference in cost = $1918.88
The cost of building a copper boiler is not quite as bad as I thought it might be. In fact it is quite doable. I'm guessing $1,200 give or take all said and done. I was quite surprised to find that a steel boiler would cost 3 times as much. A DIY steel boiler wouldn't be an option for me because I wouldn't trust my welding skills enough for it to be safe to operate. Besides the fact that I have not been able to source the proper alloy in or near the right size to build it in steel.
What are the rest of you guy's planing on doing for a boiler in 1.5?
|
|
|
|
Post by kvom on Sept 18, 2011 10:03:21 GMT -5
Can you check via your CAD drawing the dimensions of the tie plate and running board mounting holes that I posted earlier in the Errata section? Thanks.
I will be having Jesse Banning build a steel boiler for my build.
|
|
|
|
Post by toliver66 on Sept 18, 2011 12:07:43 GMT -5
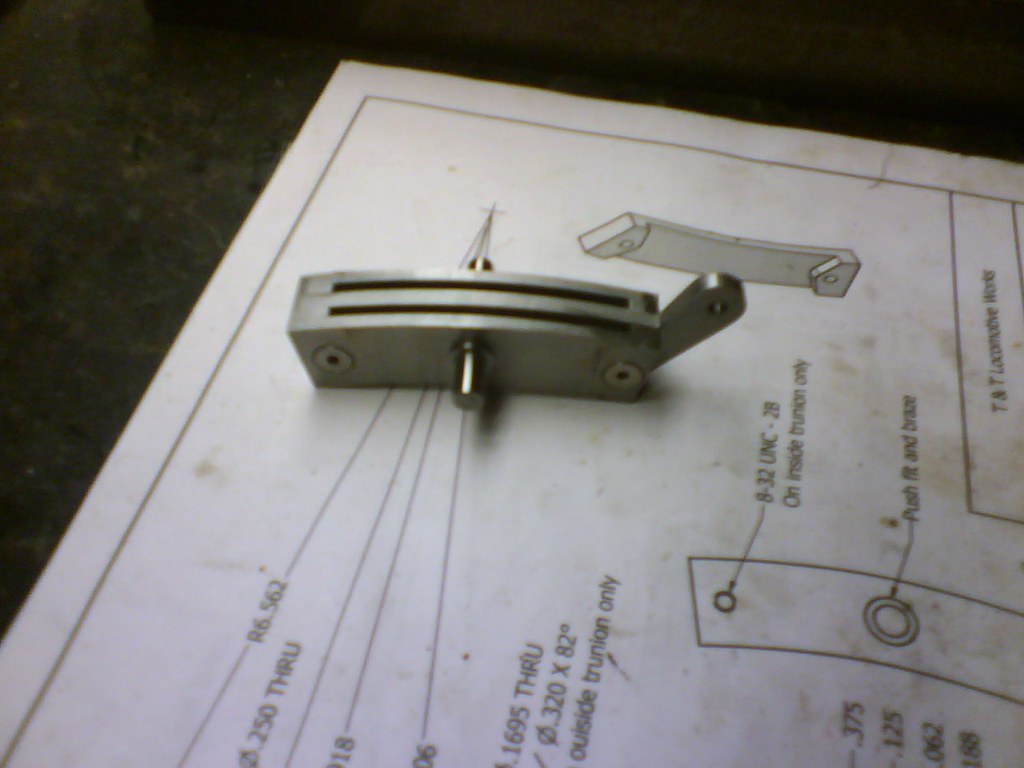
foot plate width 12.925
inner running board mounting hole in the support plate 4.320
yoke mounting holes are 4.029
inner running board hole on the yoke is 4.320
All measured from center.
|
|
|
|
Post by kvom on Sept 18, 2011 17:51:44 GMT -5
It looks as if you made the foot plate wider than the drawing on p. 206. Since I have already made the foot plate to the plan, I will need to move the hole in the running board out. Thanks for checking.
|
|
|
|
Post by toliver66 on Sept 19, 2011 5:09:10 GMT -5
Your welcome.
I started drawing and scaling up from the ground up so to speak. Starting with setting up the drivers and main axle to IBLS wheel standards for 7.5 and then based all other width measurements off the driver/main axle assembly. I had to tweak alot of measurements along the way to make parts line up and fit together and function properly. I now have all the parts drawn up for both the locomotive and tender and they are all fully animated and functional. Sort of a cyber air chassis . So I can now create drawings from these computer simulated parts and machine them knowing they Will line up, fit, and function properly.
|
|
|
|
Post by kvom on Sept 19, 2011 14:36:17 GMT -5
Looks as if you should have no issues at all with dimensions. I've tried to anticipate width issues as I've gone along, but some like the running board are hard to anticipate. Luckily there are ways to work around most issues. In addition to the mounting holes, I notice that if I mount the quadrant as drawn, the reach rod will be a bit inboard from the arm position, although not enough to worry about.
The main issue you'll need to confront is deciding on fastener sizes and threads.
Unless you buy all the materials in advance, it's hard to say what copper will cost by the time you get the chassis done. Of course, you can always build the boiler first.
|
|
|
|
Post by toliver66 on Sept 19, 2011 18:28:49 GMT -5
So far so good on the dimensions. Yeah, the running boards, yokes, and tie plate were a pain. It really helps to have a 3D part to help visualize and wrap your head around all the parts affected by one part in particular. But you are right, mistakes and errors can be fixed in most cases. I made a milling error on one of the side bearings for the tender trucks but instead of trashing it I built up material with my welder and milled it back to speck. Like you did on one of your cross heads I also drilled a hole in the wrong spot on one of my expansion links. I just put a screw in it, brazed it in, and filled it off. No one will ever be the wiser  . You should be able to move the reach rod arm in or out on the reverse shaft to get it lined up without causing any problems. My reach rod arm is 4.264 from center loco to center of arm if that helps. As far as fastener and thread sizes I've been multiplying the 3/4 hole/thread size by 2 and rounding up to the next real world size. Seems to be working out well so far. At the speed I'm going and the rate copper prices are rising I'll have to take out a second mortgage on my house to build a copper boiler if I don't build it soon.  |
|
|
|
Post by toliver66 on Sept 24, 2011 16:14:30 GMT -5
|
|
|
|
Post by kvom on Sept 24, 2011 21:02:39 GMT -5
looking good!
|
|


 ... Sorry for the type-O, it's an A3 straight from the book with a cowcatcher instead of a foot board. May not be prototypical but I like it.
 . You should be able to move the reach rod arm in or out on the reverse shaft to get it lined up without causing any problems. My reach rod arm is 4.264 from center loco to center of arm if that helps.