|
|
Post by silversanjuan on Jun 12, 2017 8:43:07 GMT -5
I had to take a break from this project for a while. But, I've finally been able to get back to it. Now I have the tank hatch, handrails and steps done. I've started working on the hand pump.  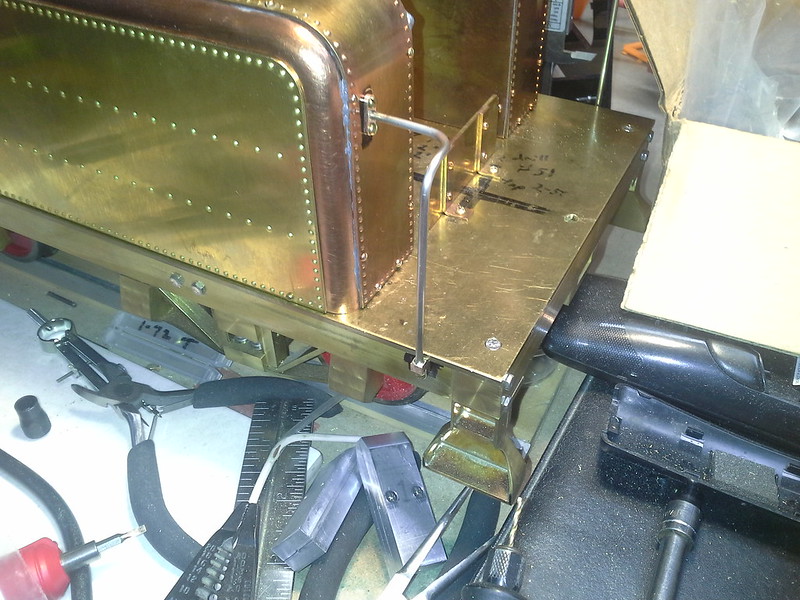 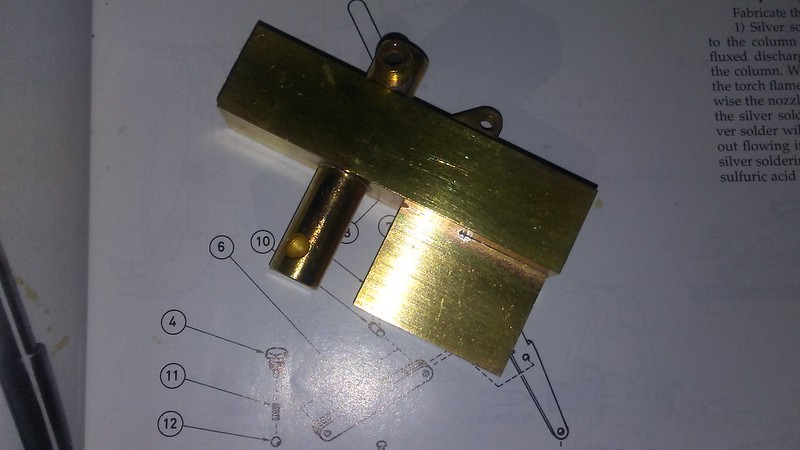 I'm so happy to be back at this. It has been too long. With any luck I'll have the plumbing done in a few weeks. Then I can finally start on the engine. |
|
|
|
Post by silversanjuan on Jun 13, 2017 9:25:14 GMT -5
I completed the pump body last night. I'm happy with how it turned out. Quite a few different operations to create it. 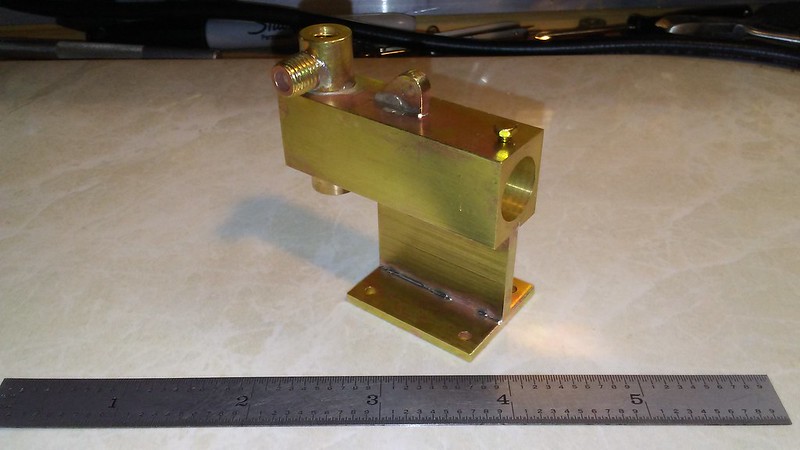 Now on with the rest of the bits. |
|
|
|
Post by silversanjuan on Jun 16, 2017 10:28:12 GMT -5
Adding more bits to the pump. I finished the plunger, O-ring retainer, plug, suction valve seat, and link. The lever is drilled and turned. I just need to mill it to shape. 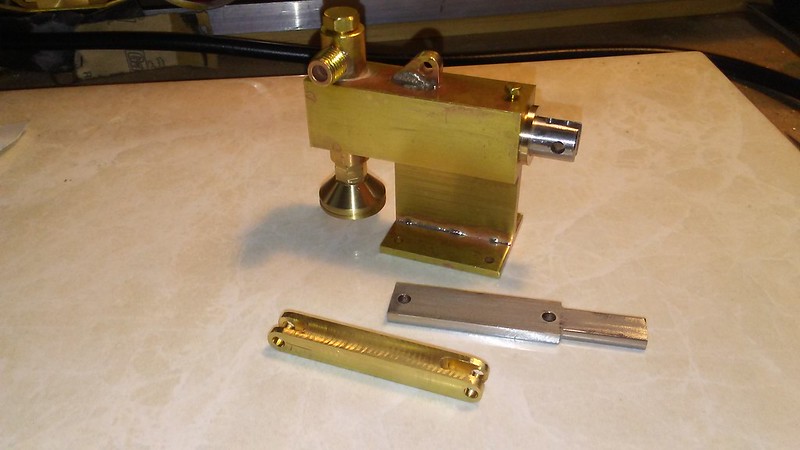 More fun to be had.  |
|
|
|
Post by silversanjuan on Jun 17, 2017 9:45:22 GMT -5
I finished milling the lever last night and assembled all the parts together. I do still need to make the spring for the ball check valve. And, I need to order some stainless bearing balls. Also, the e-clips on it now are temporary until I can get some stainless ones to replace them. 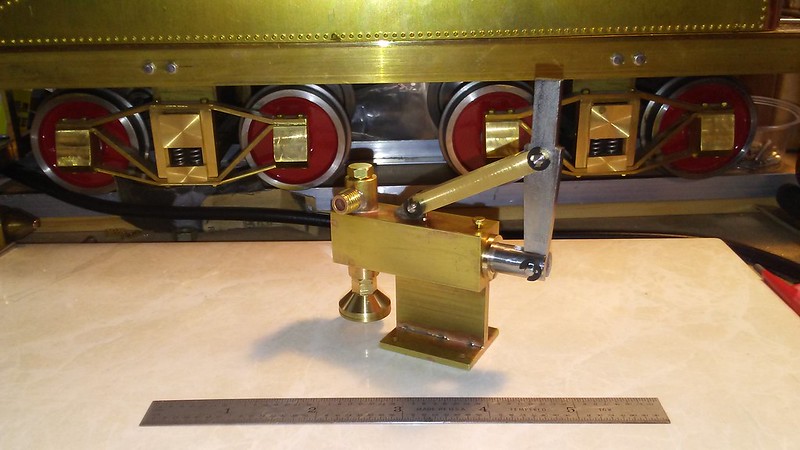 I have the handle mostly done, but need to finish cutting the slot in it. I must say I've learned a lot about slitting saws and cutting speeds in the last few days. I've burnt up three of them... So, now I need to order more. And the handle sits until I get those. Until then I'll move on with the rest of the plumbing. |
|
|
|
Post by silversanjuan on Jun 24, 2017 11:15:41 GMT -5
All the piping joints are complete and soldered. In fact the tender is essentially complete now. With the exception of some minor cosmetics and the filter screens on the suction ports. Time to get more materials and get started on the locomotive now. 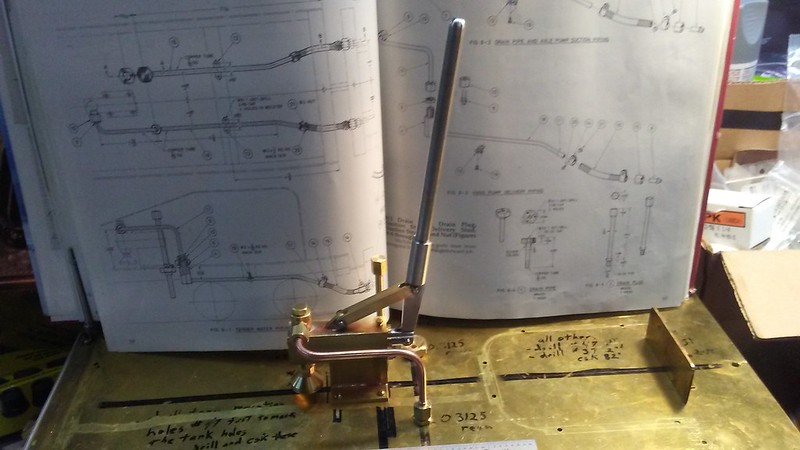 |
|
|
|
Post by silversanjuan on Jun 29, 2017 22:05:45 GMT -5
Well, I'm calling the tender done. 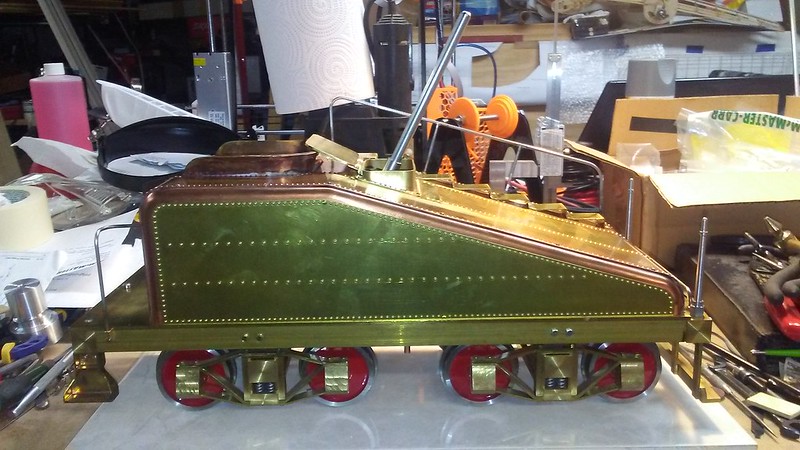 Of course it still needs to get painted. But, that'll come later. It is now time to move on to the engine. First up is the frame. Well, I have to put in a material request with the boss. And, I also discovered tonight that my 3-jaw chuck will not hold the driver castings. It is only a 3" on my MicroMark 7x14. I have a 4" 4-jaw. But, I'd rather have the self centering of the 3-jaw. So, looks like I need to put in a request for my tooling budget as well.  |
|
|
|
Post by silversanjuan on Jul 6, 2017 10:41:32 GMT -5
Yeah, I said the tender was done. But, while I wait for the funds to buy the materials for the engine frame, I thought I'd make the tender headlamp. I'm going to make it more like the A3 on Long Island in the 20's-30's with an electric headlamp. That headlamp also sat on a base that was made from angle iron. So, I'll start with that. 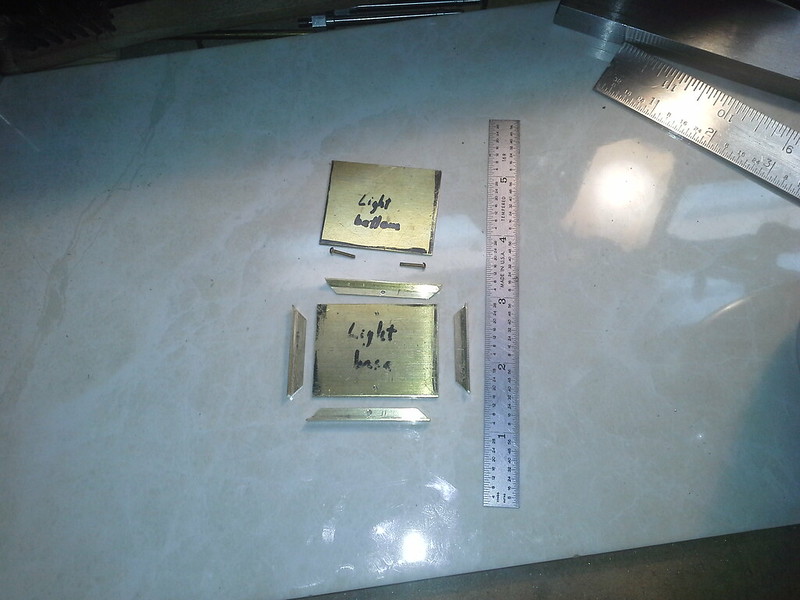  There are four more frame pieces to add to the headlamp base. The headlamp is going to be a modified version of the one that Kozo designed for his K-27. I'm going to scale it down in size. Instead of angled number plates, I will make them parallel to the body of the headlamp. |
|
|
|
Post by silversanjuan on Jul 15, 2017 10:19:16 GMT -5
I have all my materials for the locomotive frame, bearings and axles. 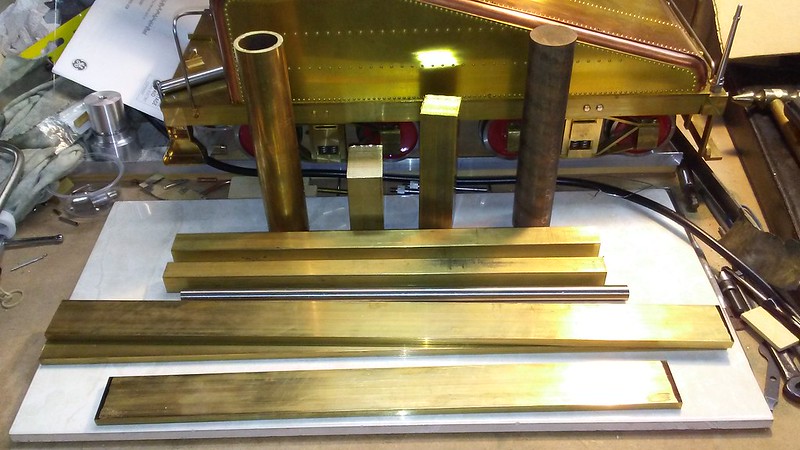 The brass tube is for the loco and tender headlamps. Here is the start of the frame sides. They are screwed together for identical machining. I've slotted the areas for the cutouts. 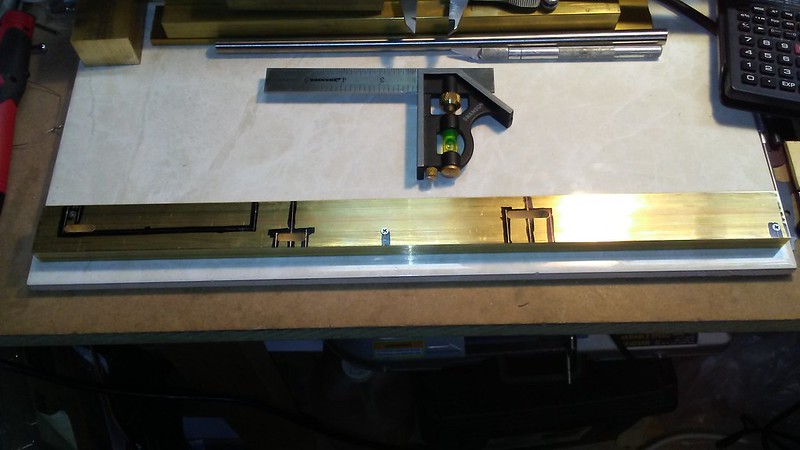 And, for my birthday my son gave me a set of EasyVUE DROs for my mill. Can't wait to get those installed. 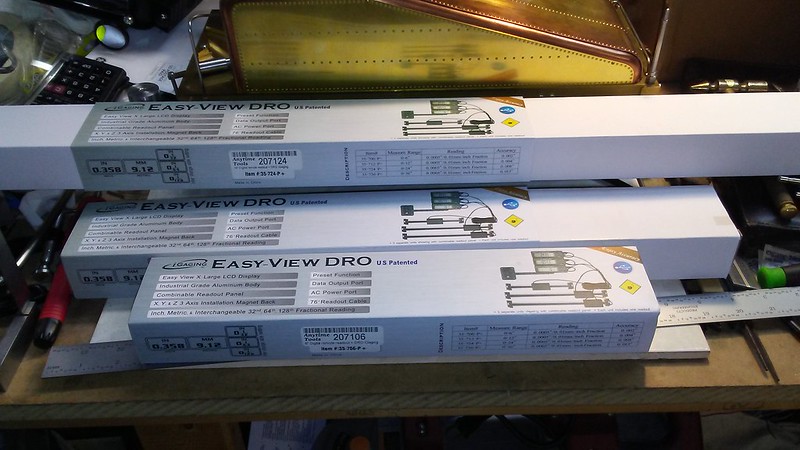 And, the fun continues.... |
|
|
|
Post by silversanjuan on Jul 27, 2017 14:35:55 GMT -5
Well, I got the DRO's installed on the mill (If you are interested you can read about it here). So, work now continues on the A3. I finished cutting out the material on the tail of the frame and both of the driver bearing boxes. Kozo discusses the relief of the stress in the cold rolled material when you cut out one side. So, the frame needed to be straightened out after the tail cut and again after the front driver box cut. Let me tell you, the stress may have been relieved in the metal... But, it all ended up stressing me out!  I really had no idea how much force was going to be required to straighten the brass bar back out. I put in so much of an opposite bend that I thought for sure I was ruining the parts. But, lesson learned... Brass is VERY springy.  Here is the frame back on the mill table. 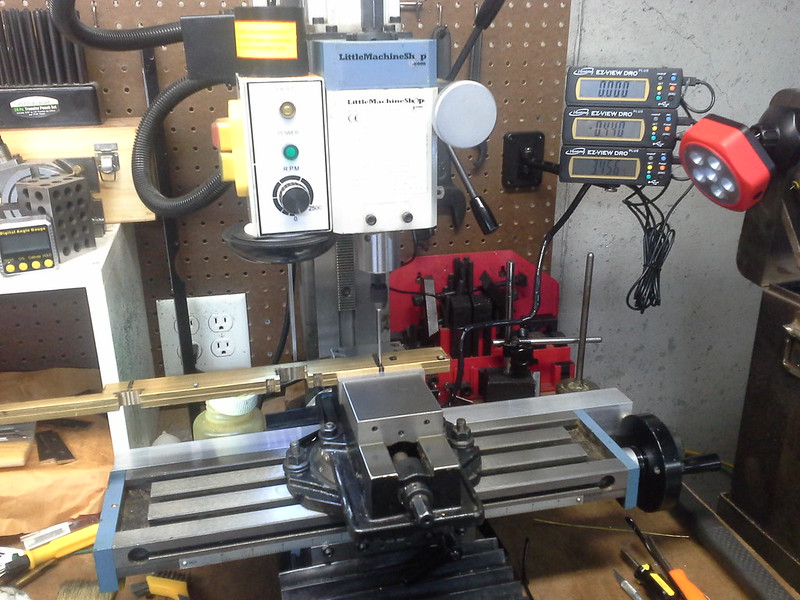 X-axis centered over the datum line for the steam tee opening. 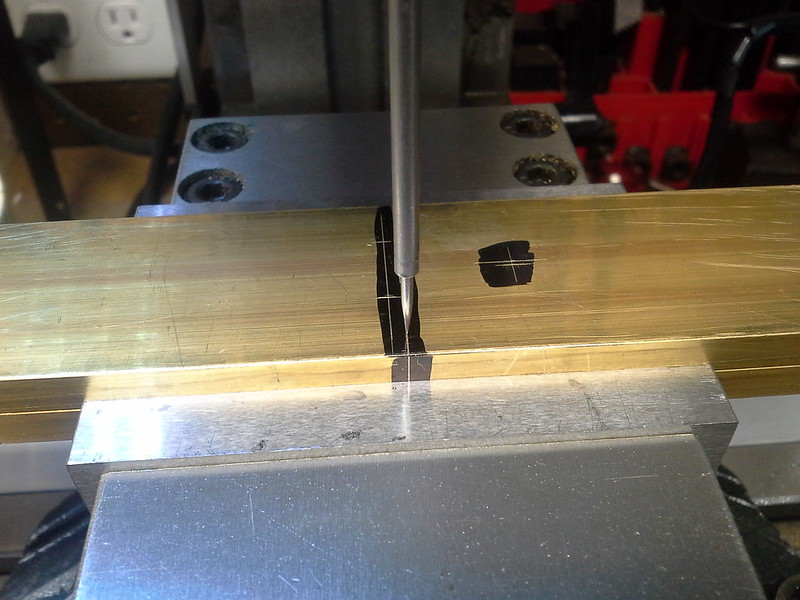 Milling out the steam tee opening. The DRO's really made the setup and milling process much easier. 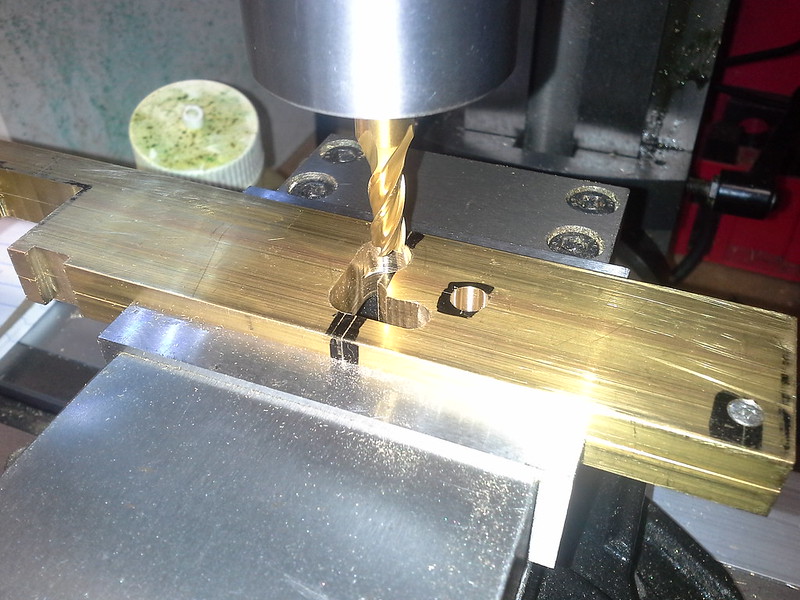 More fun to be had...  |
|
|
|
Post by silversanjuan on Jul 28, 2017 14:50:25 GMT -5
Continuing on with the frame... I needed to mount the frame at a 45 degree angle to finish milling the steam tee opening. 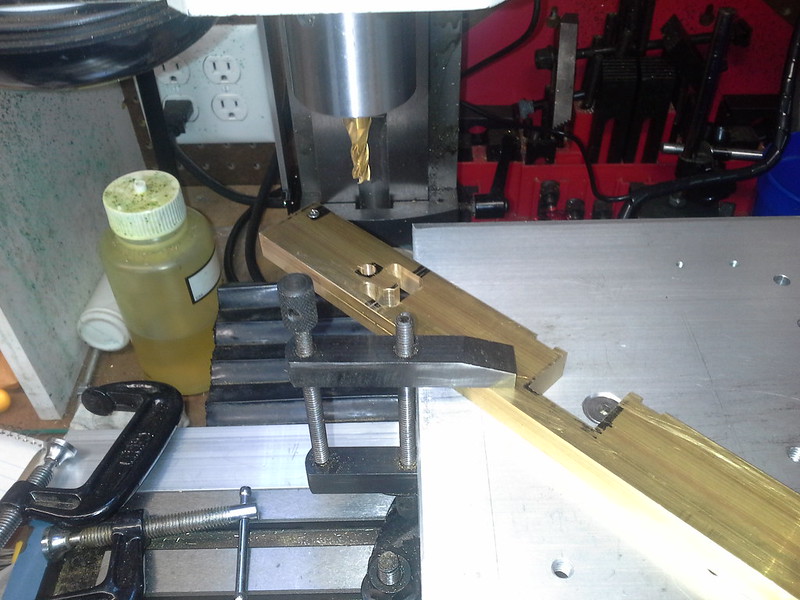 Next I drilled the four cross-tie mounting holes around the lead driver bearing box. The DRO's made this super easy. It took less than half the time it normally would with all the layout and tooling changes. 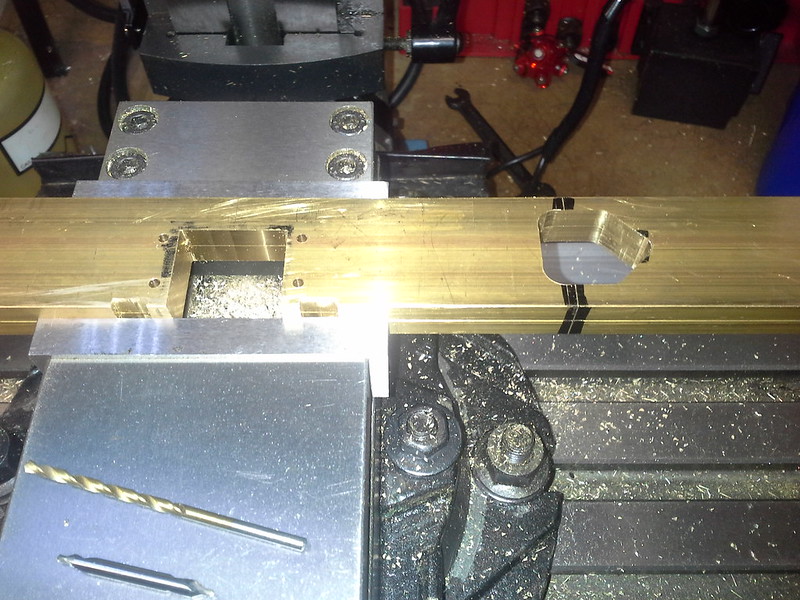 A drilling jig was fabricated for drilling the cylinder mounting holes. This jig will also be used on the cylinders themselves. 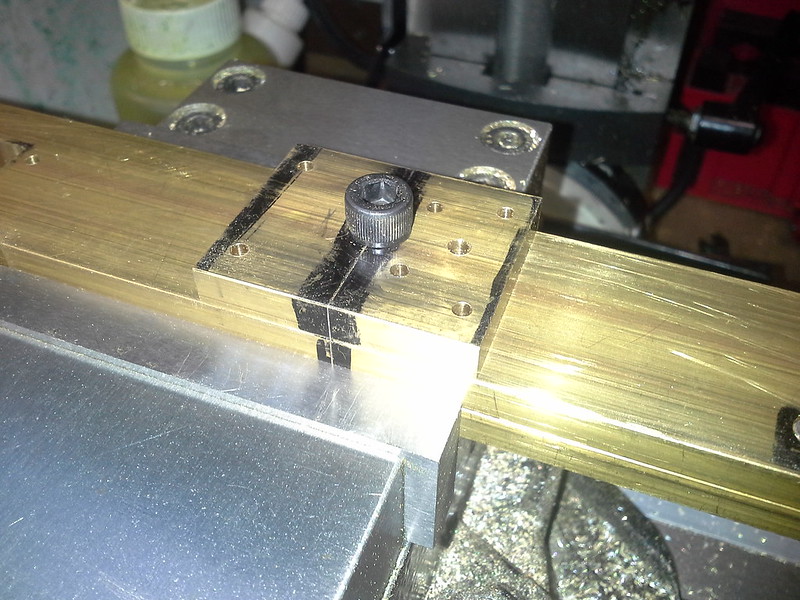 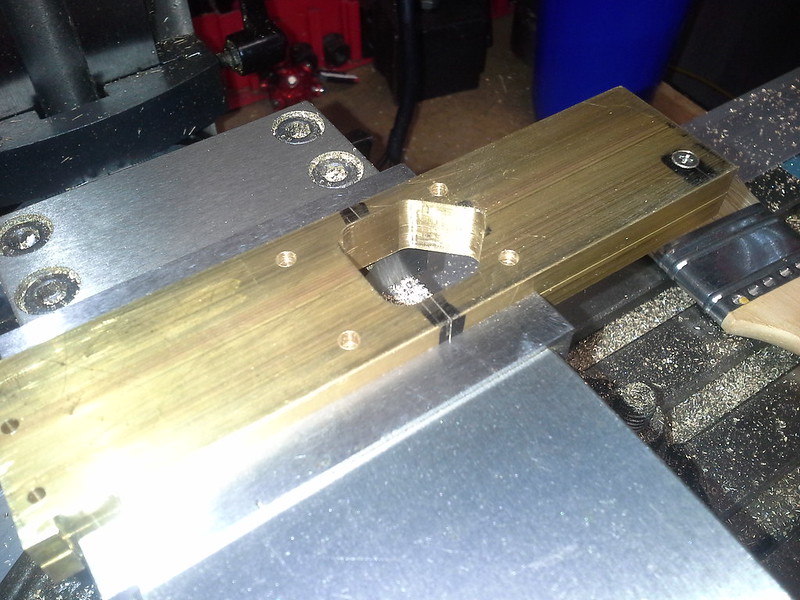 Operations finished for the evening. Still some work to do on the frame. Up next will be making a pedestal brace for the lead driver box and a bearing box for the rear driver.  More fun to be had... |
|
|
|
Post by silversanjuan on Jul 31, 2017 16:25:27 GMT -5
A little more progress over the past two days. The Pedestal Brace and Axle Box were machined. These parts are actually two pieces soldered together so that they can be machined exactly the same. Then they are set on the frames as a jig to drill the mounting holes in the frame. Here is the pedestal brace in the vice. At this point it just needs the holes drilled. The block behind it is the axle box blank. 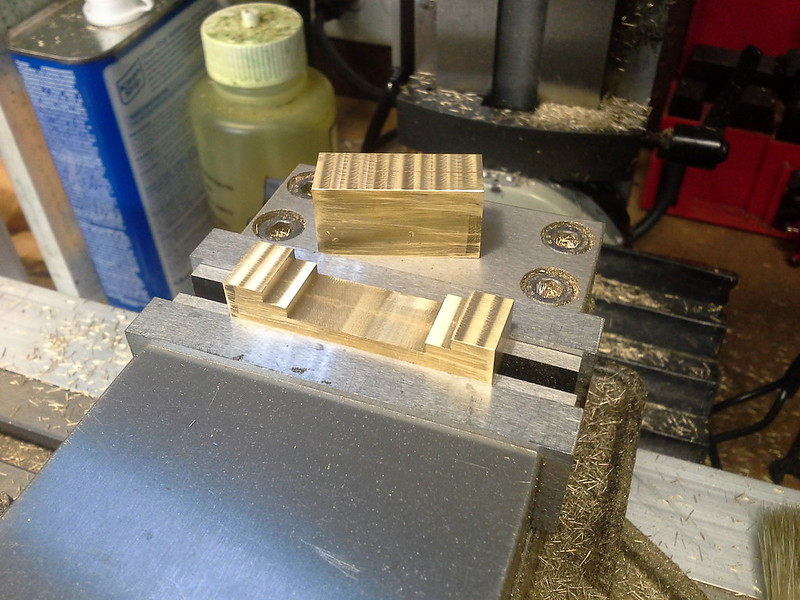 Here both parts have been machined and drilled. The frames were drilled and tapped, and the parts are attached. 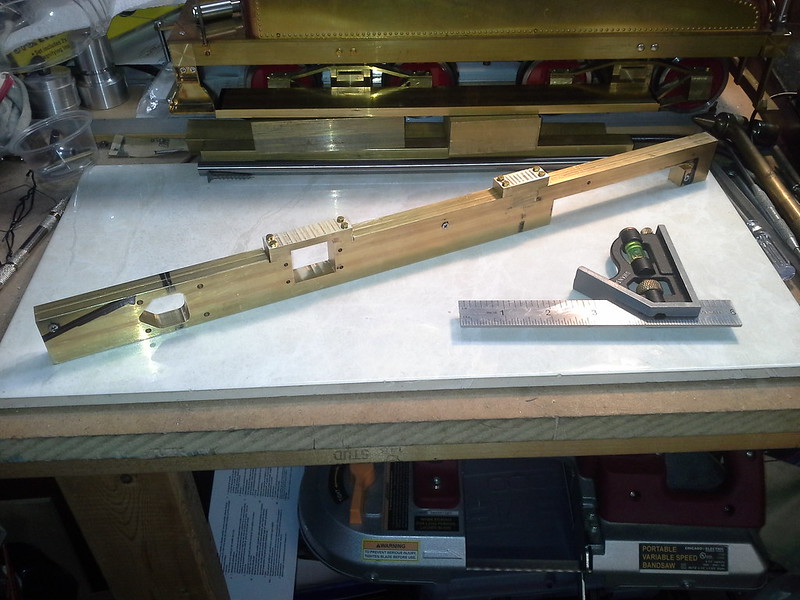 Next came one of those nervous moments. Drilling/reaming the hole in the axle box/frame. If this operation goes south it can ruin the frames as well. So, I got it all set up. Took a deep breath, and went to it. Thankfully it turned out just right. 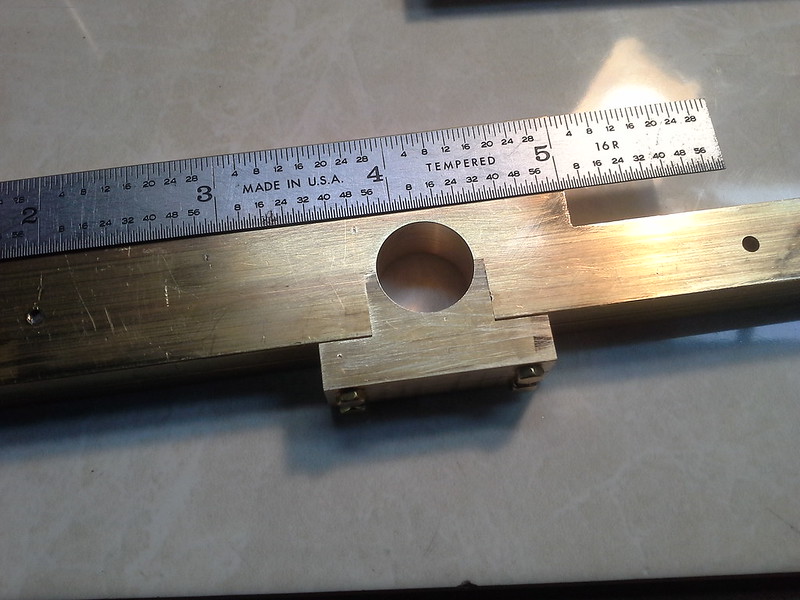 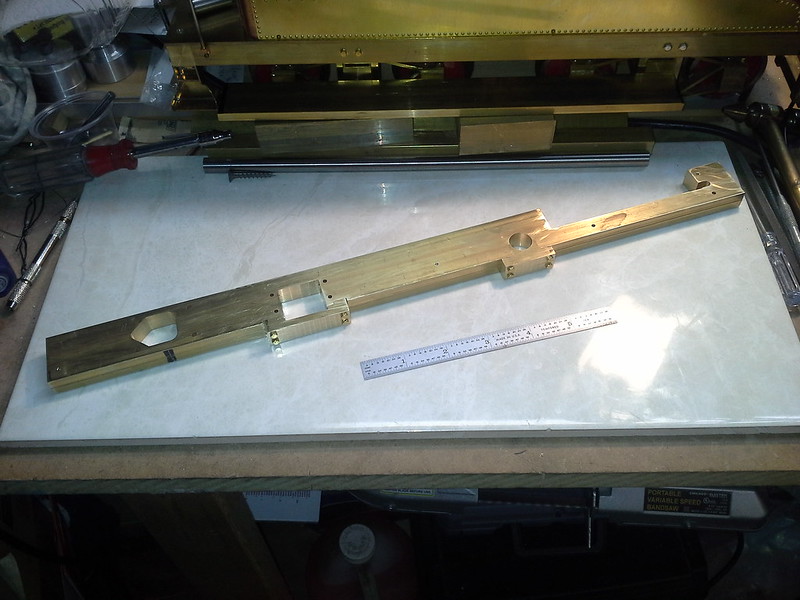 Next up are the front and rear end sills. More fun to be had... |
|
|
|
Post by silversanjuan on Aug 4, 2017 9:56:04 GMT -5
I finished up the end sills. Putting the radius on the ends of the front end sill was a learning experience. And, there were a lot of holes to drill and tap. But, it was fun. 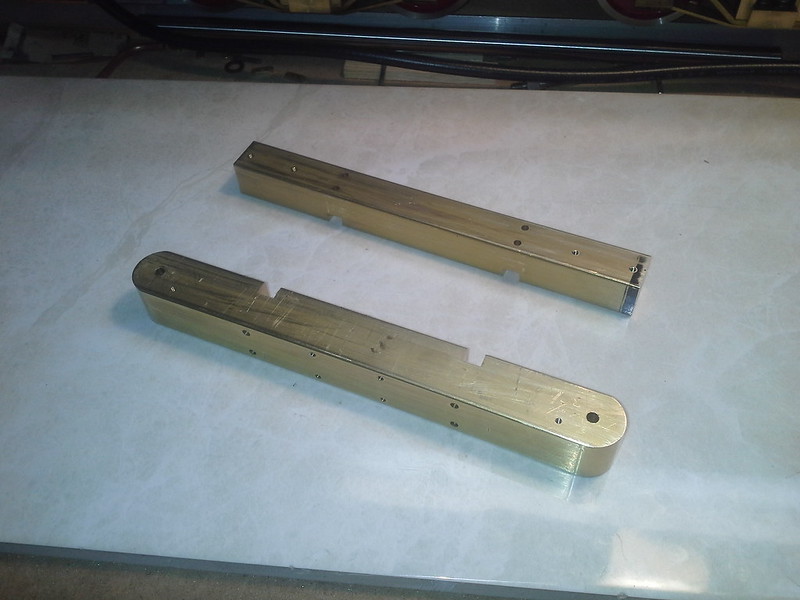 The main frame rails were also completed last night. 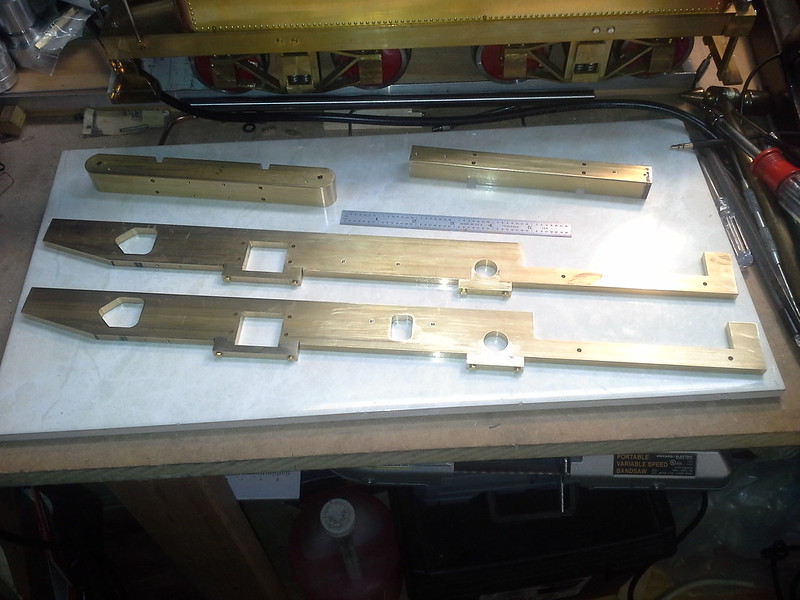 It's starting to look like something now! 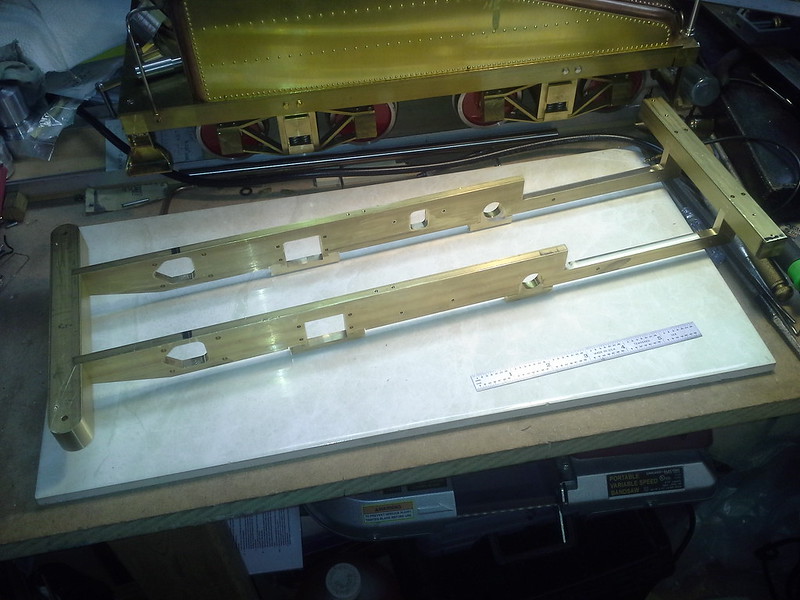 Next up are the center cross frames and the lead driver axle box. More fun to be had... |
|
|
|
Post by silversanjuan on Aug 5, 2017 11:39:04 GMT -5
The fruits of last night's labors. 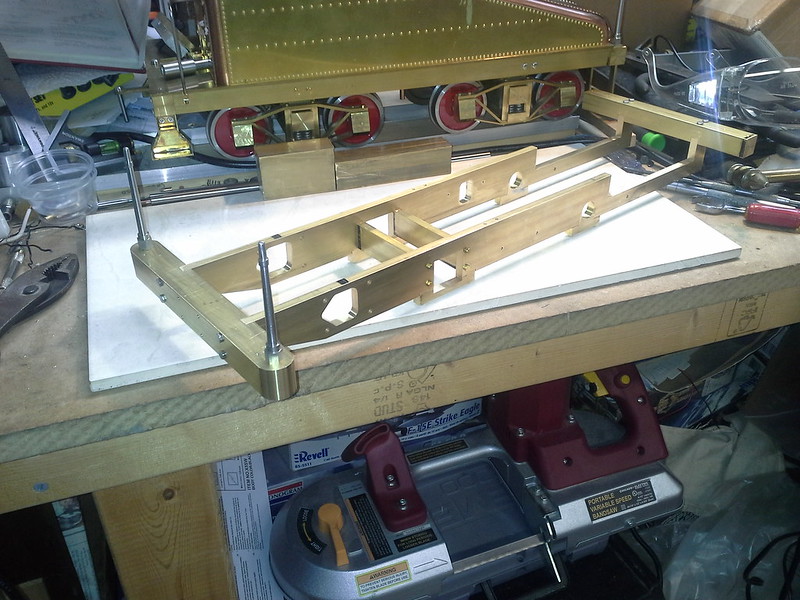 I still need to drill the center braces for the axle box pins. More fun to be had... |
|


 I really had no idea how much force was going to be required to straighten the brass bar back out. I put in so much of an opposite bend that I thought for sure I was ruining the parts. But, lesson learned... Brass is VERY springy.
